Decorative Gravel for Garden Beds Guide
A tired garden bed can make the whole yard feel unfinished, even when the plants themselves look healthy. That is exactly where decorative gravel for garden beds earns its place. It gives planting areas a cleaner, more intentional look while also helping with drainage, reducing splashing around stems, and cutting down on bare-soil mess after watering.
The best part is that gravel works for more than one style. It can sharpen a modern front yard, make potted trees feel more polished, or bring a neat finish to flower beds that need a little structure. If you want a low-fuss upgrade that still makes a visible difference, this is one of the easiest ways to get there.
Why decorative gravel for garden beds works so well
Mulch gets most of the attention, but gravel solves a different set of problems. In hot, sunny spaces, organic mulch breaks down, fades, and needs topping up. Gravel stays put, keeps its color longer, and gives beds a crisp, finished edge that suits both minimalist and lush gardens.
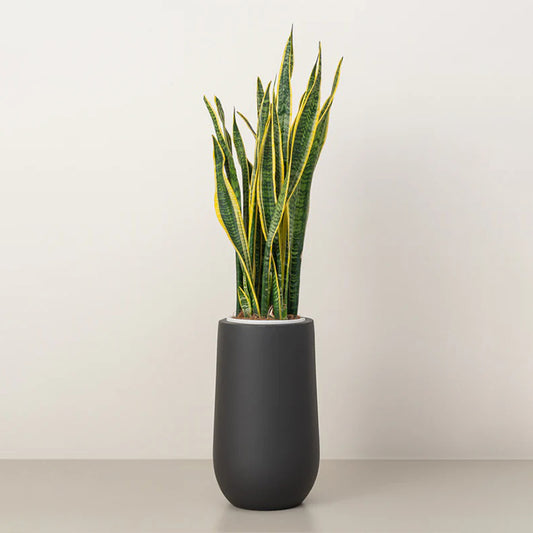
It also helps stop soil from washing or splattering onto leaves during watering. That sounds minor until you notice how much cleaner your plants and borders look with a gravel surface. Around feature plants, succulents, palms, and small trees, the visual effect is immediate.
That said, gravel is not the right answer everywhere. In beds packed with hungry annuals or in spots where you are constantly replanting, it can be less convenient than bark or compost-based mulch. Gravel is best when you want a tidy, longer-lasting surface and a planting scheme that is fairly stable.
Choosing the right gravel for your space
Not all gravel gives the same result. Size, shape, and color all affect how the bed looks and how easy it is to maintain.
Size matters more than most people expect
For most garden beds, small to medium gravel is the easiest to work with. Pieces that are too fine can shift, scatter, or compact too tightly. Pieces that are too large can look bulky around smaller plants and may leave too many open gaps.
A medium grade usually creates the most balanced finish. It covers the soil well, looks neat around stems, and is comfortable to spread between plants without making the bed feel rocky or harsh.
Rounded pebbles vs. angular gravel
Rounded pebbles feel softer and more decorative. They suit contemporary planters, accent beds, and areas where appearance is the top priority. Angular gravel tends to lock together better, so it can stay more stable on slight slopes or in larger beds.
If your garden style is clean and modern, smooth pebbles often look great. If function and staying power matter more, angular stone may be the smarter pick.
Color should support the plants, not compete with them
Light gravel can brighten shaded corners and make green foliage stand out. Dark gravel creates stronger contrast and can look especially striking with architectural plants like agave, aloe, or bird of paradise. Neutral tones are the safest choice if your plant palette changes often.
Try to think of gravel as part of the backdrop. The goal is usually to make the planting look better, not to let the ground cover steal the show.
Where gravel performs best in garden beds
Gravel is especially useful in beds that already have good plant spacing and clear structure. If you have shrubs, ornamental grasses, succulents, cacti, roses, or statement plants with visible room around them, gravel helps define each one without making the space feel crowded.
It also works well in border beds along walkways, patios, and entryways where you want a cleaner, more finished look. In these areas, decorative stone can tie the planting design to paving, pots, or house colors and make the entire exterior feel more put together.
For edible beds, it depends on the setup. Gravel can work around larger fruit trees or in ornamental kitchen garden edges, but it is usually less practical in vegetable beds that are frequently turned, replanted, or amended.
How to install decorative gravel for garden beds
The process is simple, but a little prep makes a big difference. Good installation helps the gravel look better on day one and stay easier to manage over time.
Start with a clean bed
Remove weeds, fallen leaves, and any debris before adding anything. If the bed has old mulch mixed into the top layer, clear out as much as possible. Gravel always looks best over a clean, even surface.
This is also a good time to check irrigation. If you use drip lines or soaker hoses, place them before the gravel goes down. Tucking the irrigation under the stone keeps the bed looking neater and helps water reach the roots directly.
Improve the soil first
Gravel is a top dressing, not a soil fix. If your plants need compost, fertilizer, or better soil structure, handle that before spreading stone. Once the gravel is in place, you will not want to move it around just to feed the bed.
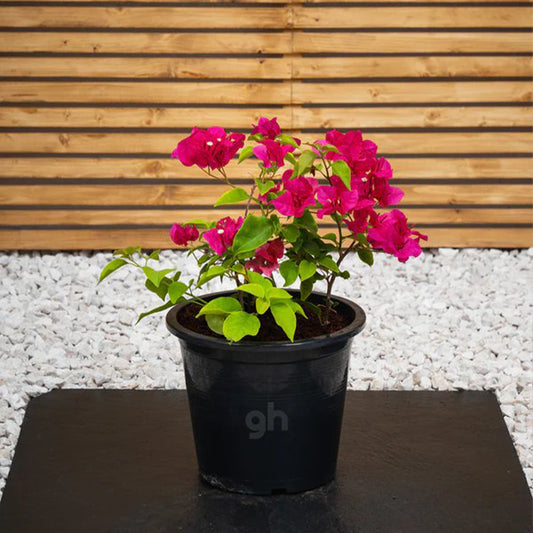
This step matters most in planting areas with flowering plants, shrubs, or young trees that are still establishing. Healthy soil should come first, with the decorative finish added afterward.
Use edging if you want a sharper finish
A simple border keeps gravel from drifting into lawns, walkways, or neighboring beds. It also gives the whole space a cleaner outline. Stone, metal, brick, or durable plastic edging can all work, depending on the style of the garden.
Without edging, gravel may still look good, but it usually needs more touch-ups. In high-traffic spaces, a defined border saves time later.
Spread an even layer
A layer that is too thin can look patchy and expose soil underneath. Too thick, and it may interfere with watering or make planting adjustments harder. An even, moderate layer is usually enough to cover the surface and create a finished look without burying the crowns of plants.
Keep a little breathing room around stems and trunks. Piling gravel directly against the base of a plant can trap moisture where it should not sit, especially for shrubs and young trees.
Common mistakes to avoid
The biggest mistake is treating gravel like a one-size-fits-all solution. It looks fantastic in the right bed, but it should match the plants, the climate, and how you actually garden.
Another common issue is skipping weed control before installation. Gravel can help suppress weeds, but it will not magically solve an already weedy bed. If weeds are present from the start, they will still find their way through.
Choosing the wrong color is another easy misstep. Very bright white stone can look harsh in some settings and may show dirt faster than expected. Very dark gravel can absorb more heat, which may or may not suit the plants in that bed.
Finally, avoid using gravel in places where you dig often. If you swap seasonal flowers every few weeks, a loose stone surface can become more annoying than helpful.
Gravel vs. organic mulch
This choice comes down to priorities. Gravel lasts longer, looks sharper, and suits low-maintenance decorative beds. Organic mulch improves soil as it breaks down, which is great for plant health, but it needs regular refreshing and may look less tidy over time.
If your goal is a polished appearance with less frequent replacement, gravel usually wins. If feeding the soil is your top concern, organic mulch may be the better fit. Some gardeners even use both in different zones - gravel in display beds and bark in heavier planting areas.
Making gravel look intentional, not random
The most attractive gravel beds usually have a clear design behind them. Repeating the same gravel in planters, borders, or around feature trees creates visual consistency. Matching the gravel tone to pots, paving, or exterior finishes also helps the yard feel more cohesive.
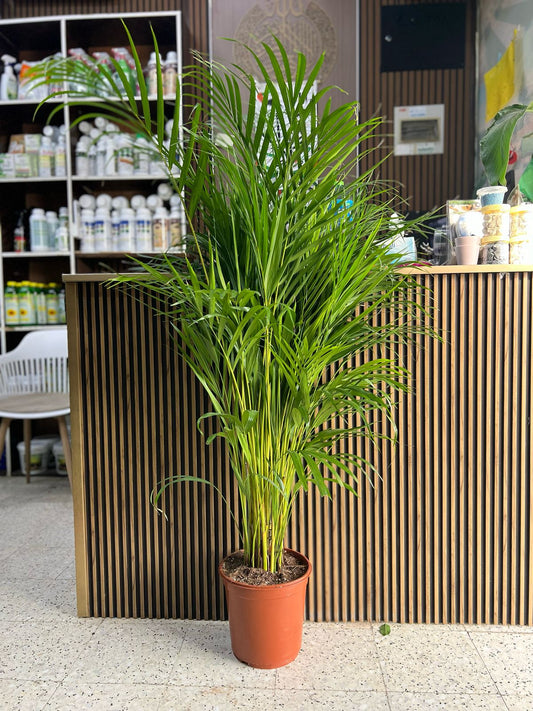
It is smart to think about scale, too. Fine gravel around a large palm can look too delicate, while oversized stone around small flowering plants may feel clunky. When the size of the gravel suits the size of the planting, everything looks more balanced.
If you are refreshing a front yard or patio bed and want a reliable finishing touch, products like gravel and pebbles can make a bigger impact than many people expect. They are simple, clean, and easy to pair with low-maintenance plants for a polished result without a full landscape overhaul.
Decorative gravel does not need to be complicated to work well. Pick a color that flatters your plants, use a size that fits the scale of the bed, and treat it like the finishing layer that brings the whole space together. A little structure on the ground can make every plant above it look better.